
How to Fix Your Garage Floor: A Complete Guide

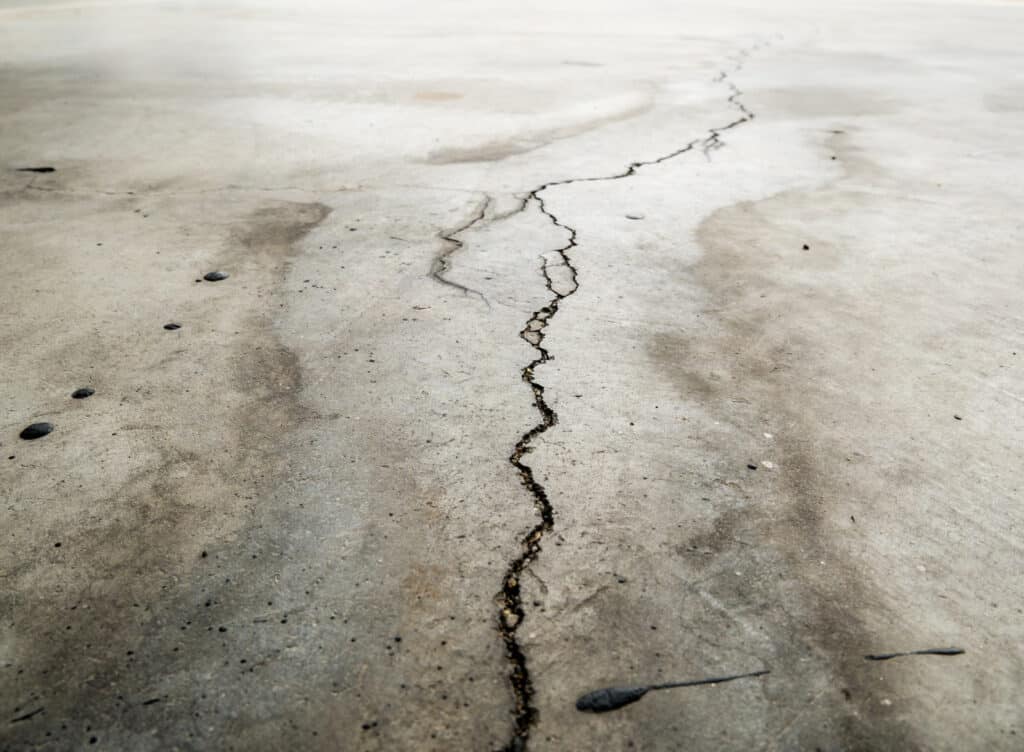
Garage floors can be easily damaged year-round. Between vehicles rolling in and out, heavy tools, chemical spills, temperature swings, and years of general use, it’s no surprise that most garage floors eventually show signs of wear. The good news? Many common garage floor problems are very fixable, and knowing what you’re dealing with makes the process a whole lot easier.
In this guide, we’ll walk you through the most common garage floor problems, how to fix them yourself, and what you can expect to spend along the way.
3 Common Garage Floor Problems & How to Fix Them
1. Cracks in Garage Floor
Cracks are the most common complaint homeowners have about their garage floors, and they’re not all created equal. Some are purely cosmetic, while others are a sign of something more serious happening beneath the surface.
Common types of cracks include:
- Hairline cracks: Thin, shallow cracks that typically appear as concrete cures and settles. These are very common and mostly cosmetic, but worth sealing before water gets in and makes them worse.
- Wider cracks (1/4 inch or more): These can develop over time from soil movement, freeze-thaw cycles, or heavy loads. They need to be properly filled to prevent further spreading.
- Heaving or uneven cracks: When the two sides of a crack sit at different heights, it usually means the soil beneath has shifted. This is a more serious structural issue that may require professional attention.
How to fix cracks in your garage floor:
For most standard cracks, here’s a straightforward approach:
- Clean the crack thoroughly: Use a wire brush, vacuum, or compressed air to remove all debris, dust, and loose concrete from inside the crack. Any material left inside will prevent the filler from bonding properly.
- Widen hairline cracks slightly: Counterintuitively, using a cold chisel or angle grinder to open a hairline crack slightly (into a “V” shape) gives the filler more surface area to bond to and creates a longer-lasting repair.
- Choose the right filler: For narrow cracks, a polyurethane or epoxy crack filler works well. For wider cracks, use a concrete patching compound or hydraulic cement. Avoid basic caulk—it won’t hold up under vehicle traffic.
- Apply and smooth: Fill the crack slightly above the surface level to account for shrinkage, then smooth it flush with a trowel or putty knife.
- Allow full cure time: Most products need at least 24 hours before foot traffic and 72 hours before vehicle traffic. Follow the manufacturer’s instructions.
- Seal the floor: Once repairs are complete, apply a concrete sealer to the entire floor to help protect against future cracking, moisture, and staining.
How much does it cost to fix garage floor cracks? DIY crack-repair materials typically run between $10–$50, depending on the size of the crack and the product used. Hiring a professional for crack repair generally costs $100–$300 for minor cracks, and more for larger or structural issues.
2. Pitted Garage Floor
Pitting appears as a rough, cratered surface. It’s very common in older garage floors and in regions where road salt gets tracked in on tires during winter. Repeated freeze-thaw cycles, chemical exposure, and a weak original concrete mix can all contribute to pitting over time.
How to fix a pitted garage floor:
Light to moderate pitting can be addressed with a concrete resurfacer—a thin, polymer-modified cement product that bonds to the existing floor and fills surface imperfections.
- Clean the floor thoroughly: Degrease the surface with a concrete cleaner or degreaser, then let it dry completely. Any oil or grease on the surface will prevent the resurfacer from bonding.
- Etch the surface if needed: For heavily pitted or smooth floors, etching with a muriatic acid solution or mechanical grinding opens the concrete’s pores and helps the resurfacer adhere properly.
- Mix and apply the resurfacer: Follow the product instructions for mixing. Apply with a squeegee or trowel, working in sections. Many resurfacers self-level to some degree, making application fairly forgiving.
- Texture the surface: Before the resurfacer fully sets, drag a broom lightly across the surface to add texture and prevent it from being slippery when wet.
- Cure and seal: Allow the recommended cure time before using the floor, then apply a sealer for long-term protection.
For severe pitting where the surface is deeply compromised, a full floor grinding followed by a professional epoxy coating may be the better long-term solution.
How much does it cost to fix a pitted garage floor? DIY resurfacing materials run $50–$150 for an average two-car garage. Professional resurfacing typically costs $1–$3 per square foot, or $500–$1,500 for a standard garage.
3. Garage Floor Foundation Issues
If you’re seeing wide cracks, significant heaving, water intrusion along the floor-wall joint, or walls that appear to be bowing inward at the base, you may be dealing with something beyond routine floor repair. These can be signs of foundation movement or soil pressure issues that go beyond what a bag of concrete patch can fix.
Signs you may have a foundation problem:
- Cracks wider than 1/2 inch
- Cracks that run diagonally from the corners
- The floor and wall joint is separating or cracking
- Doors or windows in the garage are sticking or no longer closing properly
- Water consistently enters along the perimeter of the floor
How much does it cost to fix garage foundation issues? Foundation repair costs vary widely depending on the cause and severity. Minor repairs may run $500–$2,000, while significant foundation stabilization or underpinning work can cost $5,000–$15,000 or more. This is one area where getting a professional assessment before doing anything is well worth it.
How to Fix a Concrete Garage Floor: General Tips
Regardless of which problem you’re tackling, a few principles apply across the board:
- Clean before everything: No repair bond will adhere to a dirty, oily, or dusty surface. Take the time to clean and prep thoroughly.
- Match the product to the problem: Using the wrong filler or patch material is one of the most common DIY mistakes. Read labels carefully and choose products rated for vehicle traffic.
- Don’t skip the sealer: A good concrete sealer is your best defense against future damage. It keeps moisture out, resists staining, and extends the life of any repair work you do.
- Respect cure times: Rushing back onto a repair before it’s fully cured is a quick way to undo your work. Patience pays off here.
- Address drainage: Many garage floor problems stem from water. Make sure your garage drains properly, and that water isn’t pooling near the foundation.
Take Care of Your Garage Floor & Other Elements Year-Round
Your garage floor doesn’t have to be an eyesore or a safety hazard. With the right approach and a little bit of time, most problems are very fixable, and addressing them sooner rather than later saves you money in the long run.
And while you’re giving your garage some attention, it’s worth taking a look at the door too. A garage renovation isn’t really complete if the door is overdue for a tune-up, showing signs of wear, or simply not performing the way it should. Whether you need a routine service, a spring replacement, an opener repair, or a full door installation, Maverick Overhead Doors has you covered. We serve Southern Utah homeowners with fast, reliable garage door services built around quality and customer satisfaction, so your garage looks and works its best from the floor up. Contact us today to schedule your service or get a free quote.

CONTACT US TODAY For all your repair needs
Ready to experience the best in garage door service? We make it easy for you to get started. Simply reach out to usat contact@maverickohd.com to request your free quote. Our team of experts is eager to provide you with a detailed, no-obligation estimate tailored to your specific needs. Don’t wait—contact us today and see the difference.