
5 Steps on How to Paint a Garage Door

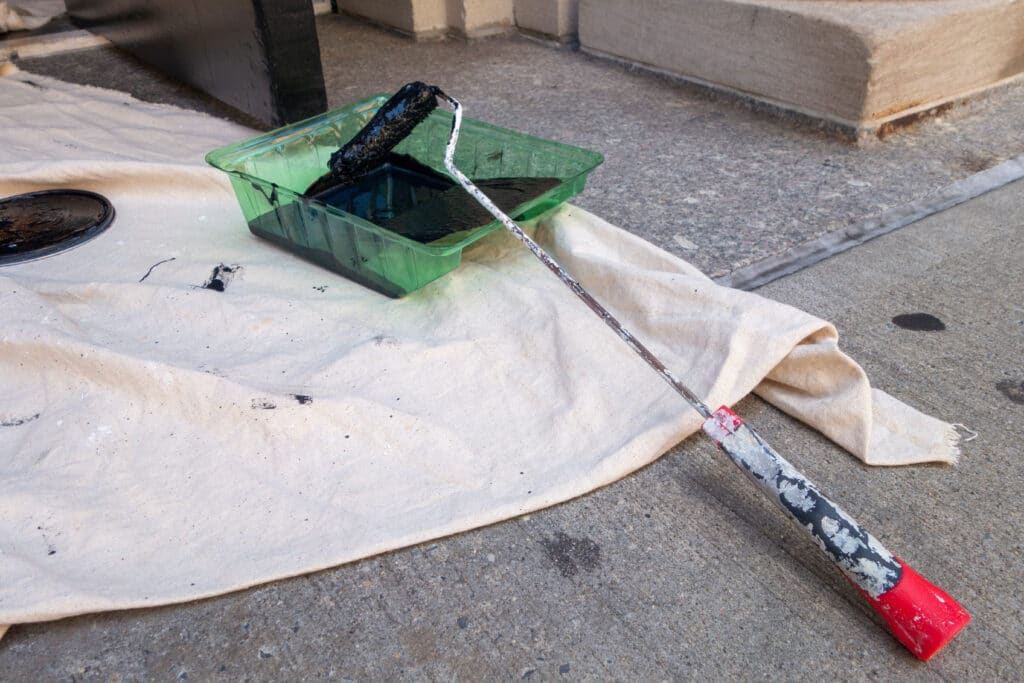
Your garage door takes up a significant portion of your home’s front-facing exterior. When it looks good, it lifts the entire curb appeal of the property. When it’s faded, chipped, or rusting, it drags everything else down with it. The good news is that a fresh coat of paint is one of the most impactful and straightforward home improvement projects you can take on over a weekend.
Whether you’re wondering if you can paint a garage door that’s looking tired, dealing with surface rust on a metal door, or simply ready for a color change, this guide walks you through exactly how to paint a garage door the right way, from prep to finish, so the results actually last.
Can You Paint a Garage Door?
Before getting into the steps, let’s answer the most common question upfront. Yes, you can paint garage doors. Steel, aluminum, wood, and fiberglass doors can all be painted successfully. The material determines which products you’ll need, but the process is largely the same across the board.
The single biggest factor in whether a garage door paint job holds up over time is preparation. A door that’s been thoroughly cleaned, properly sanded, and primed correctly will hold paint for years. A door that skipped those steps will start peeling within months. Keep that in mind as you work through each step below.
What You’ll Need Before You Start
Gather everything before you begin so the project moves smoothly from one step to the next. Here’s what you’ll need for painting a garage door:
- Exterior primer suited to your door material (rust-inhibiting for metal, wood primer for wood)
- High-quality exterior paint in your chosen finish
- Medium and fine-grit sandpaper
- TSP cleaner or heavy-duty degreaser
- Painter’s tape
- Drop cloth and plastic sheeting for masking
- Paintbrush, roller, or paint sprayer
- Tack cloth or clean rags
For the best paint for a garage door, look for 100% acrylic exterior latex paint or an oil-based enamel designed for the surface you’re working on. For metal doors specifically, look for products labeled for rust resistance or metal adhesion. These are the formulas that qualify as the best paint for metal garage doors and will hold up significantly longer than standard exterior paint on a steel or aluminum surface. Satin and semi-gloss finishes are the most popular choices; they’re durable, weather-resistant, and easy to clean.
Now, on to the steps.
How to Paint a Garage Door
Step 1: Clean the Door From Top to Bottom
This is the step that determines whether everything else works. Paint doesn’t adhere to dirt, grease, oxidation, or old wax; it bonds to clean, bare surface material. No amount of quality primer or expensive paint will overcome a surface that wasn’t properly cleaned beforehand.
Start by giving the door a thorough wash using a TSP cleaner or a strong degreaser mixed with water. Work from the top of the door down, scrubbing all panels, seams, and edges. Pay particular attention to the lower panels, which tend to collect the most road grime, oil, and moisture buildup over time.
Rinse the door completely and allow it to dry for several hours before moving forward. If you want a complete guide to doing this right, read through Maverick OHD’s garage door cleaning guide before starting your paint project. A properly cleaned door makes every step that follows easier and more effective.
Step 2: Sand, Repair, and Prep the Surface
Once the door is fully dry, it’s time to prep the surface so primer and paint can bond properly. Use medium-grit sandpaper to scuff the entire door. This creates texture for the primer to grip. On metal doors, pay close attention to any rust spots and sand those areas aggressively until the rust is removed down to bare metal. Follow up with fine-grit sandpaper to smooth everything out.
On wood doors, sanding removes any peeling or flaking old paint and opens the grain so primer soaks in properly.
After sanding, inspect the door carefully for any dents, gouges, or cracks. Fill these with an exterior-grade filler, let it cure fully, and sand smooth before moving on. Wipe the entire surface down with a tack cloth or damp rag to remove all dust and debris. This step is quick but important. Any particles left on the surface will show up in your final paint coat.
Step 3: Tape, Mask, and Protect Everything Around the Door
Take your time with this step because clean edges are what separate a professional-looking result from one that just looks okay. Apply painter’s tape along the door frame, trim, weather stripping, and any windows set into the door. Use plastic sheeting to cover window glass and any hardware you can’t remove.
Lay a drop cloth or plastic sheeting on the driveway beneath the door to protect the surface, especially if you’re planning to spray paint the garage door. Overspray from a paint sprayer travels far and will coat everything nearby if you don’t account for it.
If you’re painting in place, also consider taping off the garage door tracks to keep paint out of the mechanism. A few minutes of careful masking at this stage saves a lot of cleanup later.
Step 4: Apply Primer
Primer is not an optional step, and it’s especially critical on metal surfaces. For steel and aluminum doors, use a rust-inhibiting exterior primer to prevent rust from forming beneath the topcoat over time. For wood doors, use an exterior wood primer that seals the grain and creates a uniform base for the paint.
Apply primer using a brush to work into all the recessed panels, corners, and edges, then follow with a roller on the flat sections for even coverage. If you’re using a paint sprayer, you can apply primer the same way. Keep the sprayer moving in consistent, overlapping passes, and maintain a steady distance from the surface to avoid drips.
Allow the primer to dry completely according to the manufacturer’s instructions before applying paint. Applying paint over wet or tacky primer is a common mistake that causes adhesion problems and an uneven finish. In warm, dry conditions, most primers are ready for topcoat within a couple of hours. In humid or cooler conditions, give it more time.
Step 5: Apply Paint and Finish the Job
Knowing how to paint garage doors correctly comes down to one thing: patience. With the door cleaned, sanded, masked, and primed, you’re ready to apply paint. Two thin coats will always produce a better result than one thick one. Thin coats level out properly, dry faster, and are far less likely to drip, sag, or show brush marks.
Use a brush to work paint into the recessed panels and a roller on the flat sections, or use a paint sprayer for the smoothest possible finish. A sprayer eliminates brush marks entirely and produces a uniform coat that’s difficult to achieve any other way. Whichever method you choose, work in a consistent direction and keep a wet edge as you move across the door.
Let the first coat dry fully before applying the second. Once the final coat is on, let the door sit for at least 24 hours before removing tape or touching the surface. Fresh paint is soft and marks easily. Remove painter’s tape slowly at a 45-degree angle to get clean, sharp lines along the trim and frame.
Most exterior paints reach full hardness after about 30 days, so go easy on the door during that curing window, and avoid pressure washing or scrubbing it until it’s fully cured.
Tips to Make the Paint Last Longer
Paint in the right conditions. Temperatures between 50°F and 85°F with low humidity are ideal. Extreme heat causes paint to dry too fast, which leads to bubbling and poor adhesion. If you’re dealing with high temperatures in your area, Maverick OHD’s hot weather garage maintenance guide covers how heat affects your garage and what to do about it.
Keep up with annual garage door tune-ups so small issues like chipped paint around hardware or minor surface rust get caught before they become bigger problems. A well-maintained door holds its paint far longer than one that’s been neglected.
When Paint Isn’t the Right Answer
A fresh paint job does a lot for a tired-looking garage door, but there are situations where painting is only masking a deeper problem. Significant rust that keeps returning after sanding, panels that are warped or badly dented, and hardware that’s consistently failing are signs that the door itself may be past the point where cosmetic work makes sense.
If your garage door is aging out or showing signs of structural wear, a replacement may be the more practical investment. A new door adds insulation, security, and long-term reliability that paint alone simply can’t deliver. If you’re not sure whether your door is worth refreshing or ready to be replaced, Maverick OHD can help you figure it out. Learn more about garage door installation and reach out. We’ll walk you through your options and help you make the right call for your home.

CONTACT US TODAY For all your repair needs
Ready to experience the best in garage door service? We make it easy for you to get started. Simply reach out to usat contact@maverickohd.com to request your free quote. Our team of experts is eager to provide you with a detailed, no-obligation estimate tailored to your specific needs. Don’t wait—contact us today and see the difference.